
- Kotlin Tutorial
- Kotlin - Home
- Kotlin - Overview
- Kotlin - Environment Setup
- Kotlin - Architecture
- Kotlin - Basic Syntax
- Kotlin - Comments
- Kotlin - Keywords
- Kotlin - Variables
- Kotlin - Data Types
- Kotlin - Operators
- Kotlin - Booleans
- Kotlin - Strings
- Kotlin - Arrays
- Kotlin - Ranges
- Kotlin - Functions
- Kotlin Control Flow
- Kotlin - Control Flow
- Kotlin - if...Else Expression
- Kotlin - When Expression
- Kotlin - For Loop
- Kotlin - While Loop
- Kotlin - Break and Continue
- Kotlin Collections
- Kotlin - Collections
- Kotlin - Lists
- Kotlin - Sets
- Kotlin - Maps
- Kotlin Objects and Classes
- Kotlin - Class and Objects
- Kotlin - Constructors
- Kotlin - Inheritance
- Kotlin - Abstract Classes
- Kotlin - Interface
- Kotlin - Visibility Control
- Kotlin - Extension
- Kotlin - Data Classes
- Kotlin - Sealed Class
- Kotlin - Generics
- Kotlin - Delegation
- Kotlin - Destructuring Declarations
- Kotlin - Exception Handling
- Kotlin Useful Resources
- Kotlin - Quick Guide
- Kotlin - Useful Resources
- Kotlin - Discussion
- Selected Reading
- UPSC IAS Exams Notes
- Developer's Best Practices
- Questions and Answers
- Effective Resume Writing
- HR Interview Questions
- Computer Glossary
- Who is Who
Kotlin - Environment Setup
Installing Kotlin command-line compiler
One of the key features of Kotlin is that it has interoperability with Java i.e. You can write Kotlin and Java code in the same application. Like Java, Kotlin also runs on JVM therefore to install Kotlin on Windows directly and work with it using the command line You need to make sure you have JDK installed in your system.
Verifying the Java installation
To verify Java installation −
- Open command prompt and verify the current version of Java using the javac version command −
C:\Users\TP>javac -version
javac 1.8.0_261
If you doesn’t have Java installed in your system it generates the following error
C:\Users\Krishna Kasyap>javac -v
'javac' is not recognized as an internal or external command,
operable program or batch file.
You can install JDK by following the steps given below
Installing JDK8
- Open the following Oracle Java Downloads page.
- Click on the JDK Download link under Java SE 8 section.
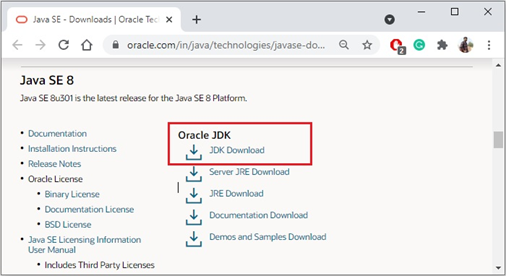
- This will redirect to the page that contains JDK software for various platforms, select the desired version (.exe) and download it.

- After downloading the file JDK file (assume we have downloaded jdk_windows-x64_bin.exe), start the installation by running it.
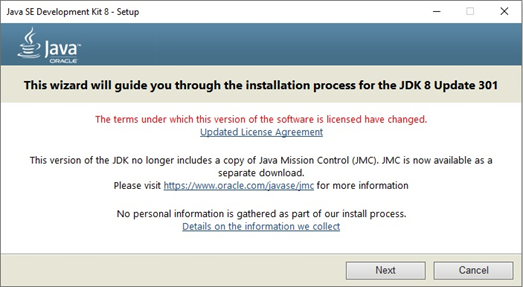
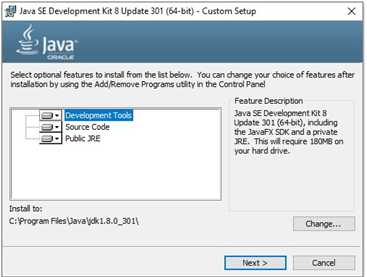
- By default, Java will be installed in the path C:\Program Files\Java\jdk1.8.0_301\ you can change the path by clicking on the Change... button.
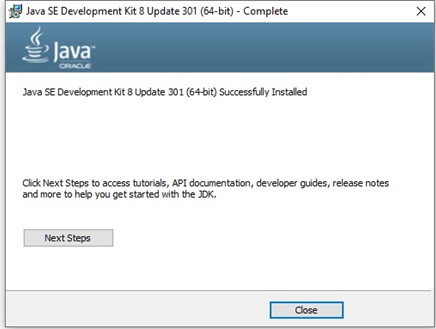
- After the completion of the installation click on the Close button.
Kotlin Command line compiler
Kotlin command line compiler is available at the JetBrains Kotlin GitHub releases page.
- Download the latest version.
- Unzip the downloaded file and place it in the desired folder.
- The Bin directory of the downloaded folder contains all the binary files to run Kotlin.
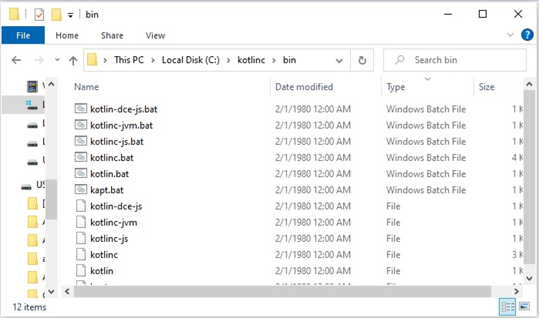
- Now, set Path environment variable to this folder.
Setting the Path variable
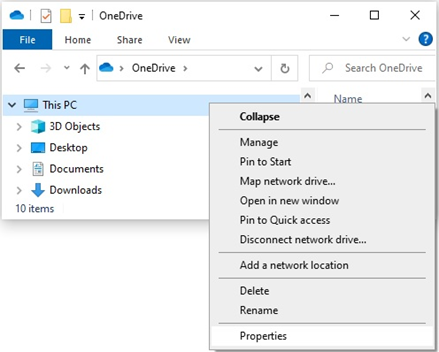
- Right click on My computer or This PC, select Properties.
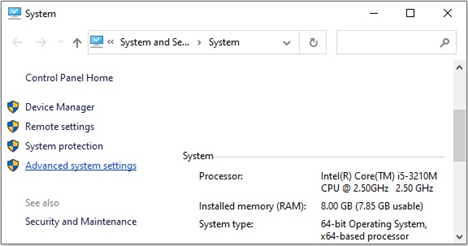
- Click on Advanced System Settings.
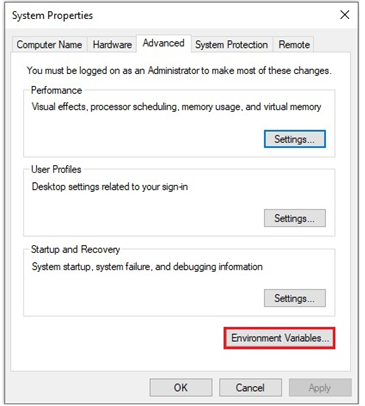
- Then, click on the Environment Variables... button.
- In the Environment Variables window, under System Variables select the Path variable and edit the variables using the Edit... button.
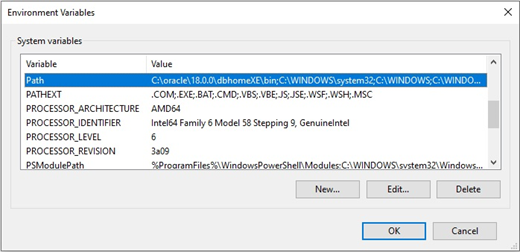
- Click on the New button and add the path of the bin folder of installed JDK and Kotlin folders.

To verify the installation, open command prompt and type java or javac command, if your installation is successful, you can see the output as shown below:

Setting Kotlin environment using IntelliJ IDEA
Kotlin is developed by the JetBrains that develops IDEs like AppCode, CLion, DataGrip, DataSpell, GoLand, IntelliJ IDEA etc.
The IntelliJ IDEA internally have Kotlin plugin bundled with it. To develop Kotlin download and install IntelliJ.
To install a recent version of IntelliJ IDEA:
- Open JetBrains Downloads page, you can download the free community edition.
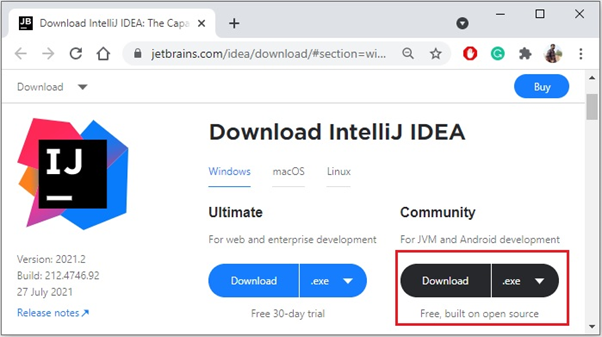
- If you run the downloaded file, it starts the installation process.
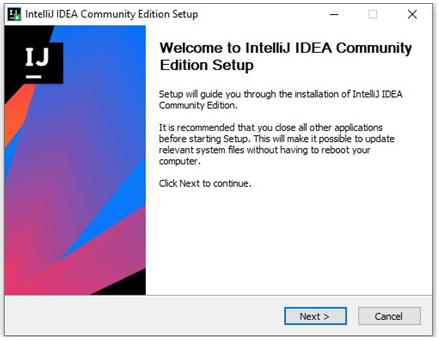
- Proceed with the installation by providing the required details and finally complete the installation.
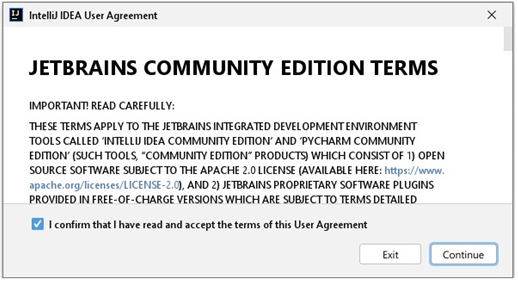
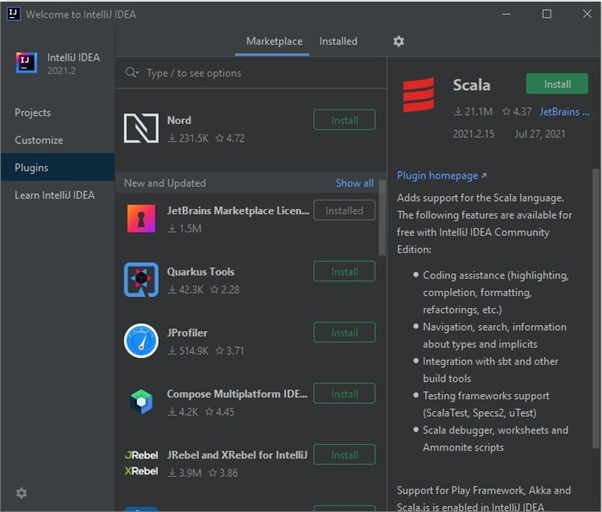
- The Plugins tab of IntelliJ displays all the available plugins. By default, Kotlin plugin is activated, in any case if it is not activated. Open the plugin tab, search for Kotlin and install it.
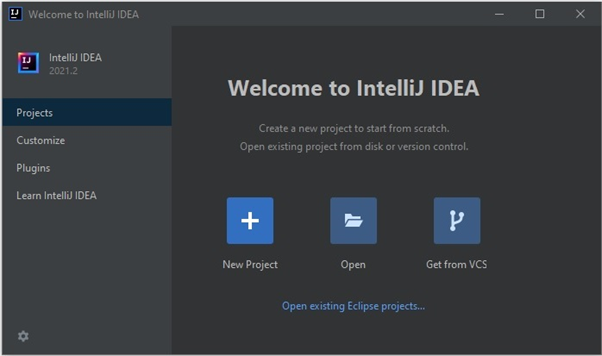
Creating first application
- To create first application, click on NewProject.
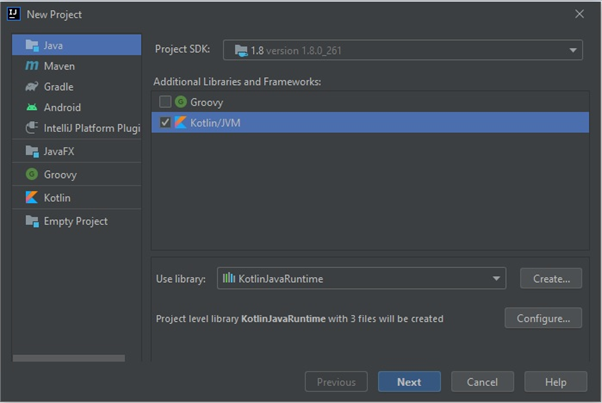
- Select Kotlin/JVM and click Next.
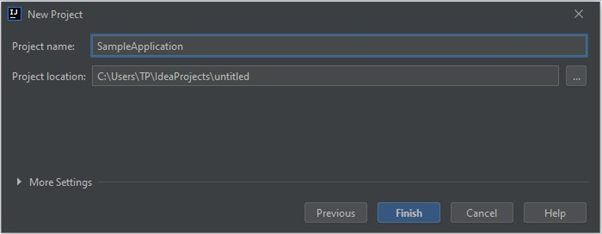
- Name the project and select the desired location.
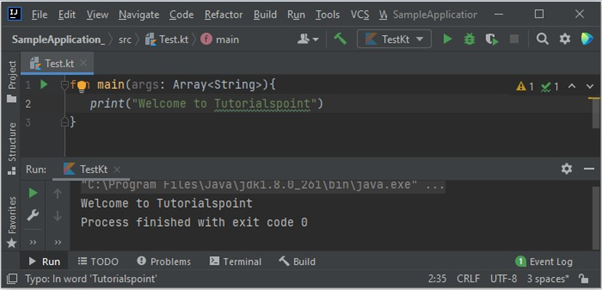
- Now, create a new Kotlin file under the source(src) folder and let’s name it as Test.

- You can create a sample function as shown below. You can run this by pressing Ctrl + Shift + F10.
Setting Kotlin environment using Eclipse
You can also execute Kotlin programs in eclipse to do so, you need to have “Eclipse IDE for Java developers” installed in your system. To do so, follow the steps given below.
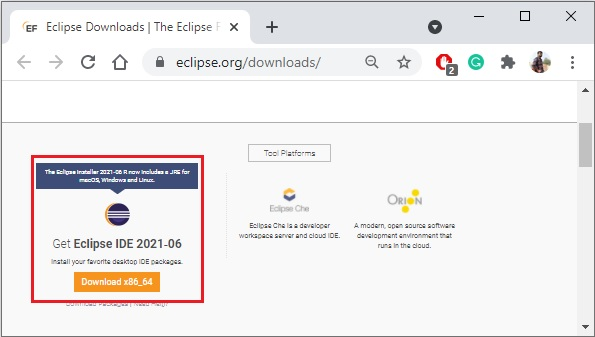
- Download the latest version of eclipse installer from the page: https://www.eclipse.org/downloads/
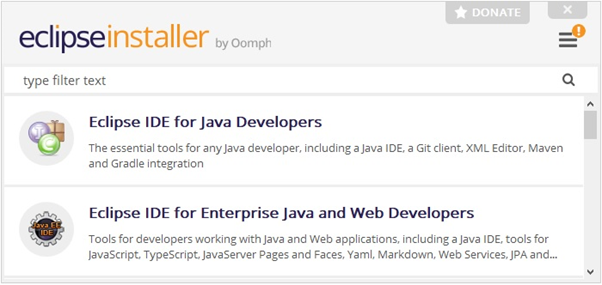
- Run the downloaded file and click on the Eclipse IDE for Java developers.
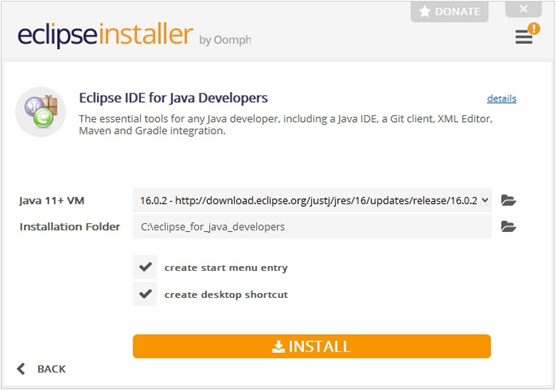
- Select the installation directory and click on install.
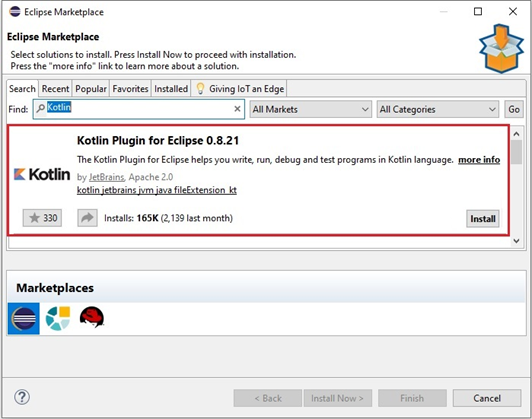
- Open eclipse in the Help menu select Eclipse Marketplace.

- Search for Kotlin and check all the matches and when you find Kotlin click on Install.
Creating a Kotlin application in eclipse
Once you have installed Kotlin plugin in your eclipse to create your first application.
- In the File menu click on Project.

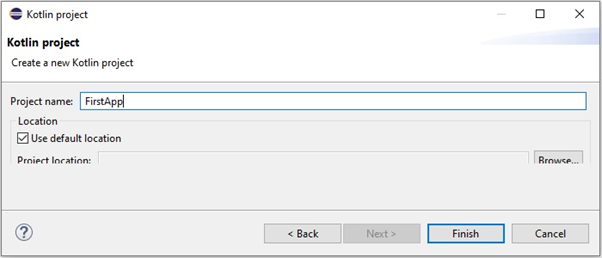
- This will take you to Select a wizard. Under Kotlin (dropdown menu), click on select “Kotlin Project” and click on the “Next” button.

- Then, enter the desired name for the application and click on Next.
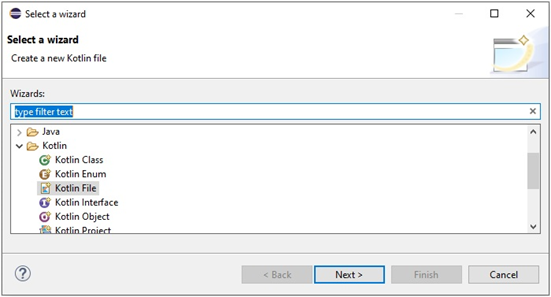
- Right click on the src folder of the created project click on other.

- Select the Kotlin File wizard click on Next and name the file as Hello.kt.
Your development environment is ready now. Go ahead and add the following piece of code in the “Hello.kt” file.
fun main(args: Array) {
   println("Hello, World!")
}
Run it as a Kotlin application and see the output in the console as shown in the following screenshot. For better understanding and availability, we will be using our coding ground tool.
